Lifecycle
Introduction
We have reviewed how to create and modify a scenario. Now, let's delve into the versioning system and, more specifically, how to use a scenario to make decisions in production.
Versioning
The versioning system manages changes to scenarios over time, allowing you to create and track multiple versions. You can only work on a draft version of a scenario.
You can choose any version or the current draft of each scenario using the dedicated picker in the scenario detail view
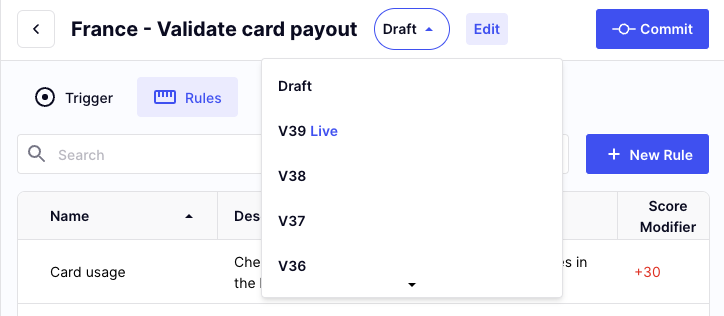
Scenario version picker
Draft
A Draft represents an editable state of a scenario. You can make multiple changes over time until you are satisfied with the modifications and the scenario passes all validation requirements.
A draft is automatically created at scenario creation. You can also create a new draft from any existing version.
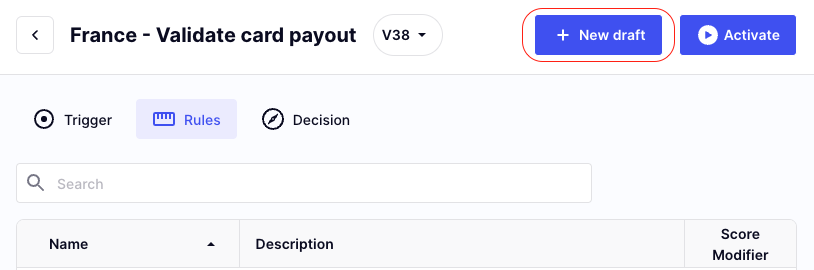
Create a new draft from an existing version
Each scenario can have either zero or one draft at any given time.
Version
A Version represents a non-editable state of a scenario. You can view it as a snapshot of the scenario at a specific point in time.
To create a version, you must :
- Create or select a draft
- Make your changes
- Solve any validation issues
- Commit your version by clicking the top right button
You can quickly identify validation issues by following the red dot indicators in the interface.
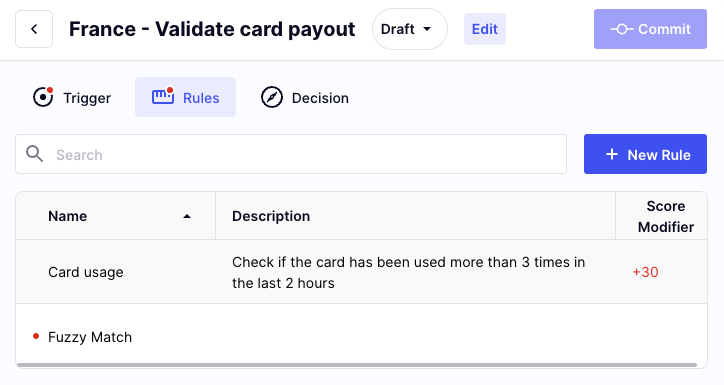
Scenario with red dot indicators
Live scenario
For each scenario, you can activate a single version for use in production. This designated version, referred to as the Live version, is utilized to make decisions. You can easily identify if a version is Live from either the scenario list panel or the scenario version picker.
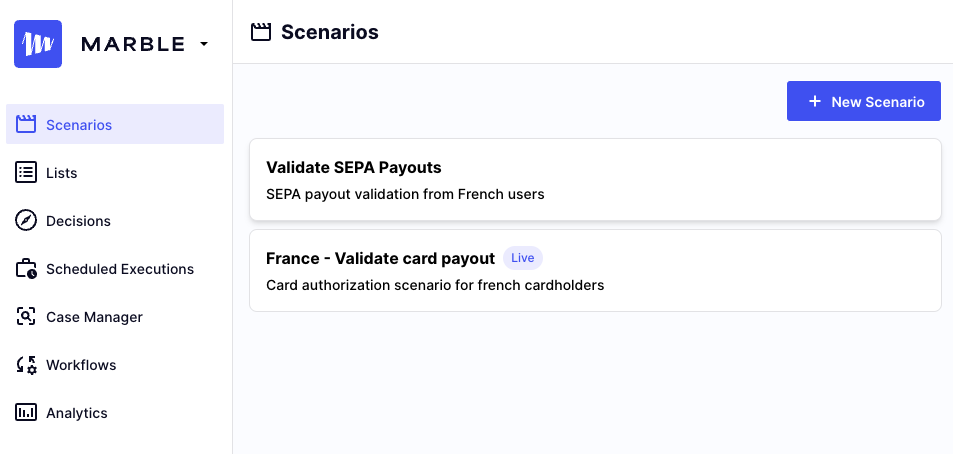
Only the second scenario is currently live
Only live scenarios are making decisions
Prepare a scenario version
Some version requires asynchronous preparation to be ready for activation. This step is not always required for activation. If you do need preparation, the top right button will let you know.
-
Select the version you want to prepare
-
Click on the top right
Preparebutton -
The process may take a few minutes. When complete, the button will change to Activate.
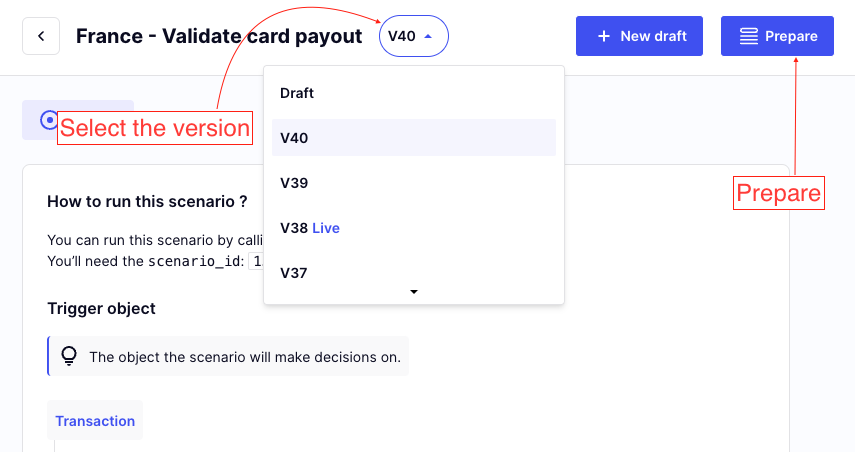
Prepare a scenario version
Preparation is distinct from activation. After successful preparation, you must activate a version to make it live.
Activate a scenario version
- Select the version you want to activate
- Click on the top right
Activatebutton
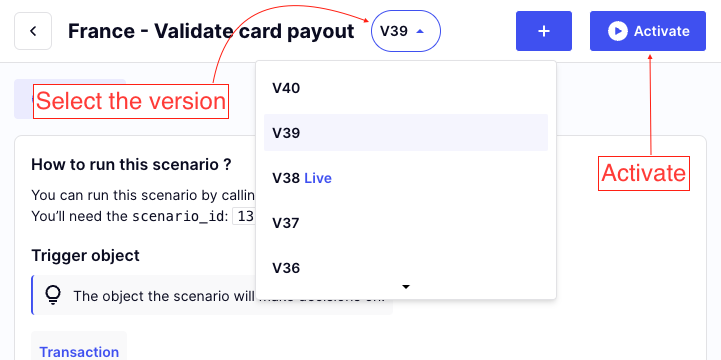
Activate a scenario version
Only one version can be live at a time. Activating a new version replaces the current live version.
Deactivate a scenario version
-
Select the live version you want to deactivate
-
Click on the
Deactivatetop right button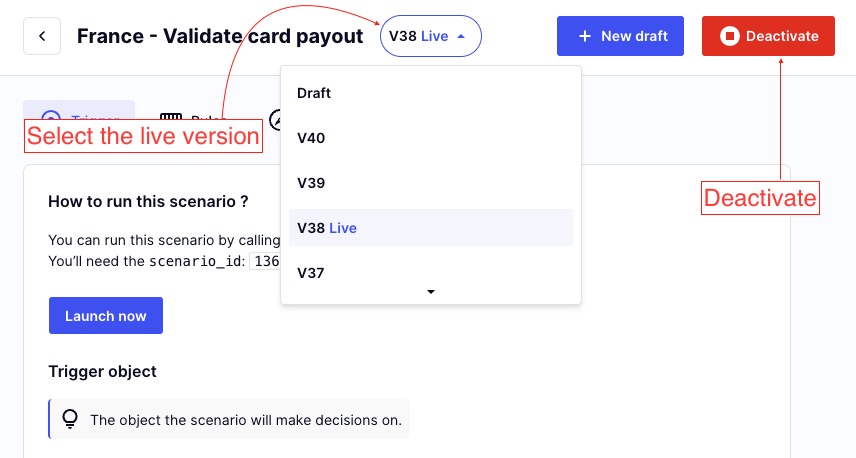
Deactivate a live scenario
Deactivation halts decision-making for the scenario. Simply activate to change the live version.